

Mastering 3D Animation: From Beginner Basics to Advanced Techniques
So, you want to get into 3D animation, huh? It's a pretty cool field, letting you build entire worlds and characters from scratch. Whether you're just starting out or looking to polish your skills, there's a lot to learn. We'll cover the basics, like how to build digital objects and get comfortable with the software. Then, we'll move on to making things look good with textures and materials. After that, it's all about bringing characters to life, making them move and act believably. Finally, we'll touch on some advanced stuff like visual effects and making your animations look polished. It's a journey, for sure, but totally doable.
Key Takeaways
- Start by understanding the basic building blocks of 3D animation, like vertices, edges, and polygons, and get familiar with common software interfaces.
- Learn how shapes form the foundation of your 3D creations and how textures and materials add depth and realism.
- Bring characters to life by studying anatomy, practicing figure drawing, and understanding acting principles for emotion and personality.
- Explore advanced techniques such as rigging characters, creating visual effects with simulations, and mastering lighting and rendering.
- Continuously learn and practice, focusing on animating objects, cameras, and lights to tell compelling stories and improve your overall 3D animation skills.
Understanding the Fundamentals of 3D Animation
The Building Blocks of Digital Worlds
So, you want to make things move in three dimensions? That's awesome! Before we get to the fancy stuff, we need to talk about what actually makes up a 3D world. Think of it like building with digital LEGOs. Everything you see on screen, from a character's nose to a spaceship's hull, is built from simple geometric shapes. These shapes are made up of points, lines, and polygons. Vertices are just points in space. Connect a couple of vertices, and you get an edge. Connect enough edges, and you form a polygon, usually a triangle or a quad. These polygons are the skin of your 3D models. By putting tons of these together, you can sculpt anything you can imagine. Understanding how these basic shapes fit together is the first step to creating anything in 3D. It's all about geometry, really.
Exploring Essential 3D Software
To actually build and animate these digital worlds, you'll need some software. There are a few big names out there, each with its own strengths. You've got options like Blender, which is free and incredibly powerful, or industry standards like Autodesk Maya and Cinema 4D. Each program has its own way of doing things, but they all share common goals: modeling, texturing, rigging, animating, and rendering. Getting familiar with one of these is key. Don't worry about mastering them all at once; pick one and start exploring. Many online courses can help you get started with specific programs, offering structured learning paths from basic operations to more complex tasks. It's a good idea to look into animation principles courses to understand the 'why' behind the 'how' in any software.
Mastering the Software Interface
Okay, so you've picked a software. Now comes the part that can feel a bit overwhelming at first: the interface. These programs are packed with buttons, menus, and panels. It's like walking into a cockpit. You'll see viewports where you see your 3D scene, timelines for controlling animation, and various toolbars. Don't let it scare you. Most interfaces are customizable, meaning you can arrange things to suit your workflow. Start by learning the basics of navigating the viewport – how to move around, zoom in and out, and rotate your view. Then, focus on the tools you'll need for modeling and basic animation. Think of it as learning a new language; it takes practice, but soon the commands will start to make sense. Here's a quick rundown of common interface areas:
- Viewport: Your main window into the 3D world.
- Timeline: Controls the timing and playback of your animation.
- Toolbars/Panels: Where you find all the commands and settings.
- Outliner/Scene Explorer: Shows you all the objects in your scene.
Learning the interface is like getting the keys to a powerful machine. It might seem complicated initially, but with a little patience and practice, you'll be driving it like a pro. Focus on understanding the core layout and the most frequently used tools first. The rest will come with time and experience as you work on projects.
Getting comfortable with the software is a big step. It's where the magic starts to happen, turning those basic shapes into something that can move and tell a story. Remember, the goal is to bring your ideas to life, and the software is just the tool to help you do that. You can find great resources for 3D animation software online to help you get started.
Core Principles for Compelling 3D Animation
Alright, so you've got the software open, maybe you've even made a few shapes float around. That's a start! But to make something that actually looks good, something people want to watch, you need to think about a few core ideas. It's not just about moving stuff; it's about making that movement mean something.
Shapes as the Foundation of Motion Graphics
Think of your basic shapes – spheres, cubes, cylinders – as the Lego bricks of your digital world. Everything you build, from a character to a complex machine, starts with these simple forms. How you manipulate them, combine them, and give them volume is where the magic begins. It’s about understanding how these basic geometric forms can be sculpted and transformed to create more complex objects. The way a shape deforms or interacts with light can tell a story all on its own.
- Subdivision Surfaces: Learning how to smooth out sharp edges on your polygonal models to create organic shapes. This is key for characters and anything that needs to look less blocky.
- Boolean Operations: Using one shape to cut into or merge with another. Super handy for creating holes or combining parts.
- Extrusion and Beveling: Pushing out faces to add depth or rounding off edges to make things look less harsh and more realistic.
Don't get too caught up in making super complex models right away. Sometimes, a few well-placed shapes, animated with care, can be way more impactful than a highly detailed but static object. It’s about form and silhouette.
Adding Depth with Textures and Materials
Once you have your shapes, they look pretty plain, right? Like unpainted plastic toys. That's where textures and materials come in. This is what gives your objects surface detail, color, and how they react to light. It’s the difference between a shiny red ball and a rusty, dented metal sphere.
Here’s a quick rundown of what goes into making surfaces look real:
- Color Maps (Albedo): This is the basic color of your surface. Think of it like painting the object.
- Roughness Maps: Controls how shiny or dull a surface is. A mirror has low roughness, while a piece of paper has high roughness.
- Normal Maps: These fake surface detail without adding extra geometry. It’s like adding bumps and grooves that look real when the light hits them, but the object itself is still smooth.
- Metallic Maps: Tells the renderer which parts of the surface are metal and which are not. This is super important for how light reflects.
Getting these right makes a huge difference in how believable your 3D scene feels. It’s all about fooling the eye into thinking it’s looking at something real, even if it’s just a bunch of polygons. You can find some great resources for textures online, like at texture libraries.
Remember, the goal is to make your animation visually interesting. By understanding how shapes work and how to give them realistic surfaces, you’re well on your way to creating scenes that grab attention and hold it. It’s a journey, and mastering these basics is your first big step.
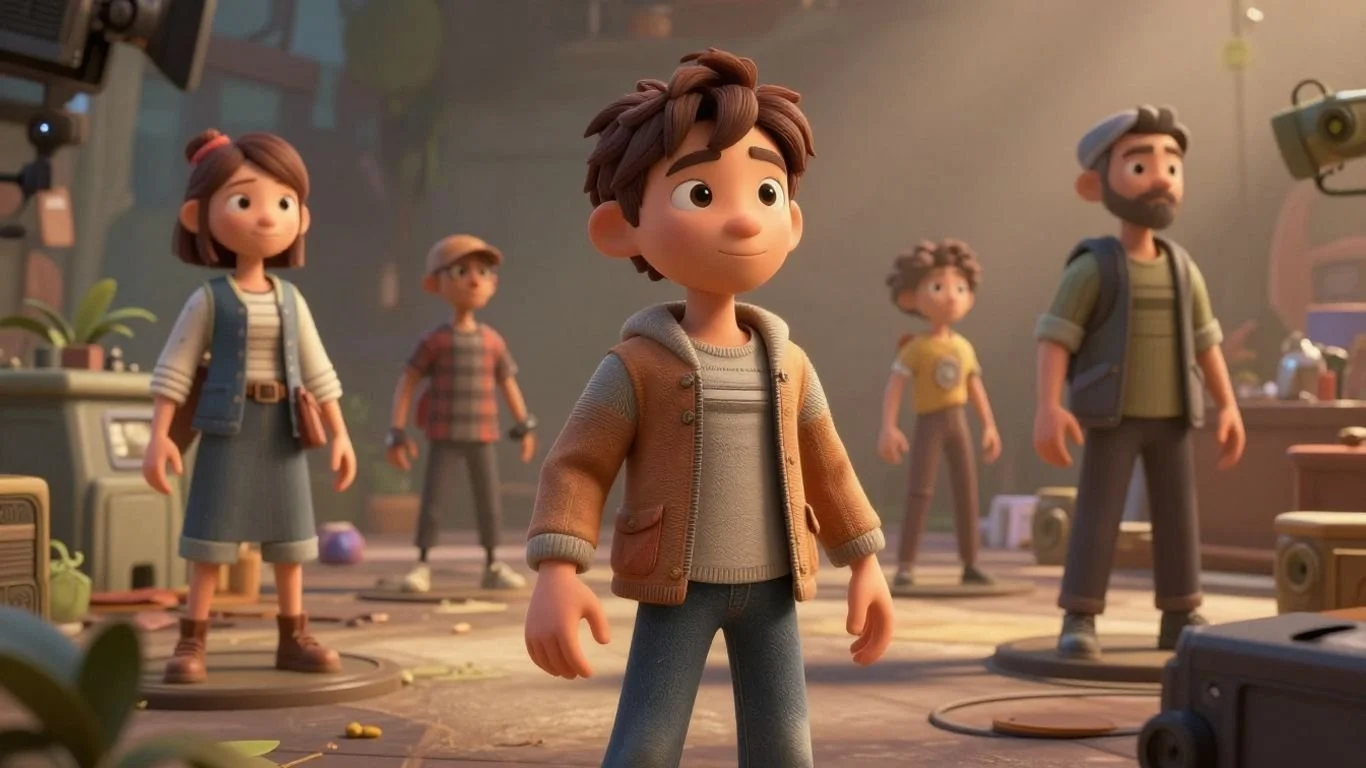
Bringing Characters to Life in 3D Animation
So, you've got your digital world built, but it feels a bit… empty, right? That's where characters come in. Making them feel real, like they have thoughts and feelings, is what separates a cool animation from something truly memorable. It’s not just about making a shape move; it’s about giving it a soul.
Anatomy and Figure Drawing for Realistic Characters
Before you can make a character walk, run, or even just blink convincingly, you need to understand how bodies actually work. Think about it – if a character’s arm bends in a way that just looks wrong, your brain immediately flags it. Getting a handle on basic anatomy, like where muscles attach and how bones connect, is super important. It doesn't mean you need to be a doctor, but knowing the underlying structure helps you draw and model characters that move naturally. It’s like knowing how a car engine works before you try to drive it fast. You can find some great resources to start learning about 3D character animation basics.
Acting for Animators: Emotion and Personality
Once your character looks right, they need to act right. This is where the magic of performance comes in. Animators are basically actors with digital puppets. You need to think about what your character is feeling. Are they happy? Sad? Annoyed? That emotion needs to show up not just in their face, but in their posture, their gestures, even the way they breathe. It’s about subtle cues. A slumped shoulder can say a lot without a single word. Learning to convey these feelings through movement is a big part of making your characters relatable.
Think about your favorite animated movies. What makes you connect with those characters? It's rarely just the plot; it's the personality and the emotional journey they go on. As an animator, you're the one making that journey visible.
Storytelling and Cinematography in Animation
Finally, how do you present your characters and their actions to the audience? That’s where storytelling and cinematography come into play. It’s not just about showing the character; it’s about showing them in a way that serves the story. This means thinking about camera angles – should we be looking up at them to make them seem powerful, or down to make them seem vulnerable? What’s the lighting like? Is it bright and cheerful, or dark and moody? These choices guide the viewer’s eye and help them understand what’s happening and how they should feel about it. It’s all about using the camera and the environment to support the character's performance and the overall narrative. You can really enhance your 3D animation pipeline by focusing on these aspects.
Advanced Techniques in 3D Animation
Alright, so you've got the basics down, and maybe you're even comfortable with character animation. Now, let's talk about pushing your skills further. This section is all about the nitty-gritty, the stuff that really makes your animations pop and look professional.
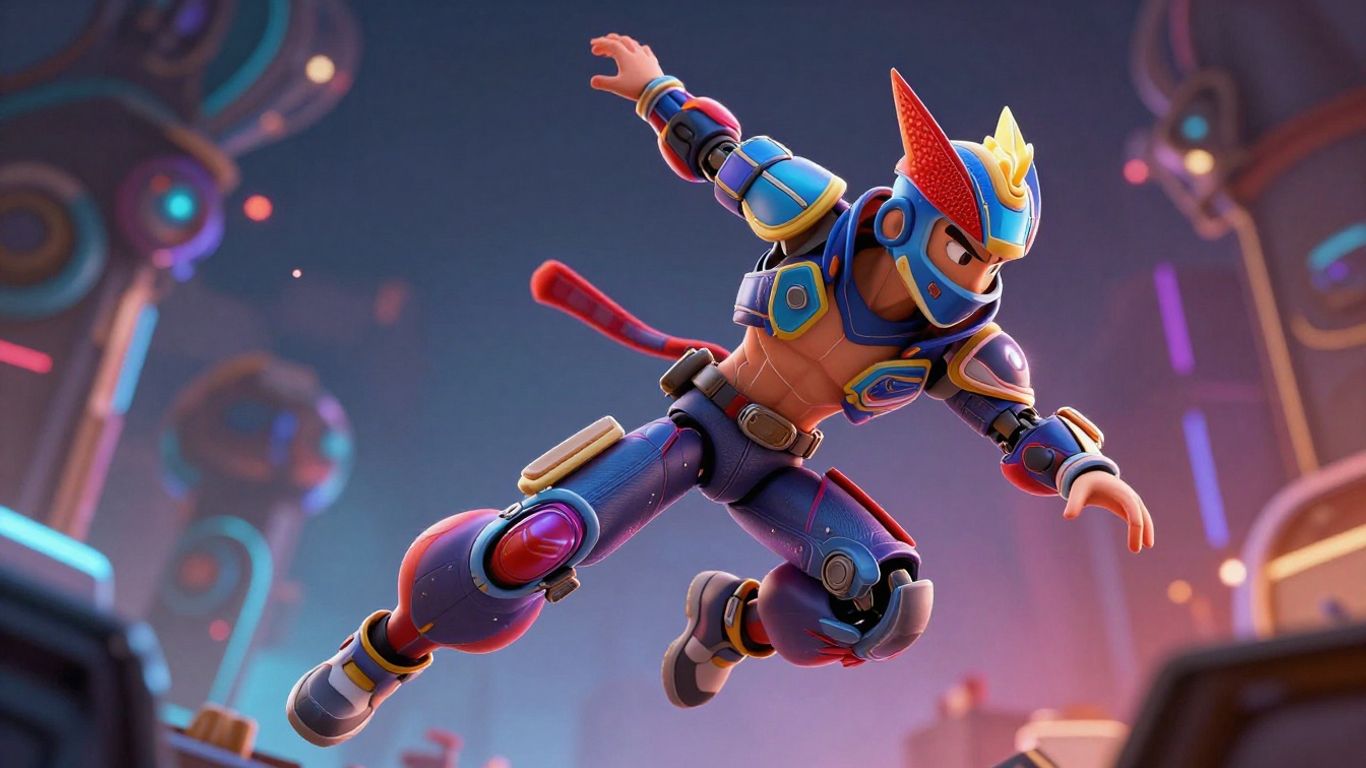
Mastering 3D Rigging
Rigging is basically building a digital skeleton for your 3D models, especially characters. It's how you make them move in believable ways. Think of it like puppetry, but with code and controls. You'll learn about joints, bones, and how to set up controls so animators can easily pose and animate the character. Getting good at rigging means you can create complex movements without a headache. It's a technical skill, for sure, but super rewarding when you see your characters come alive.
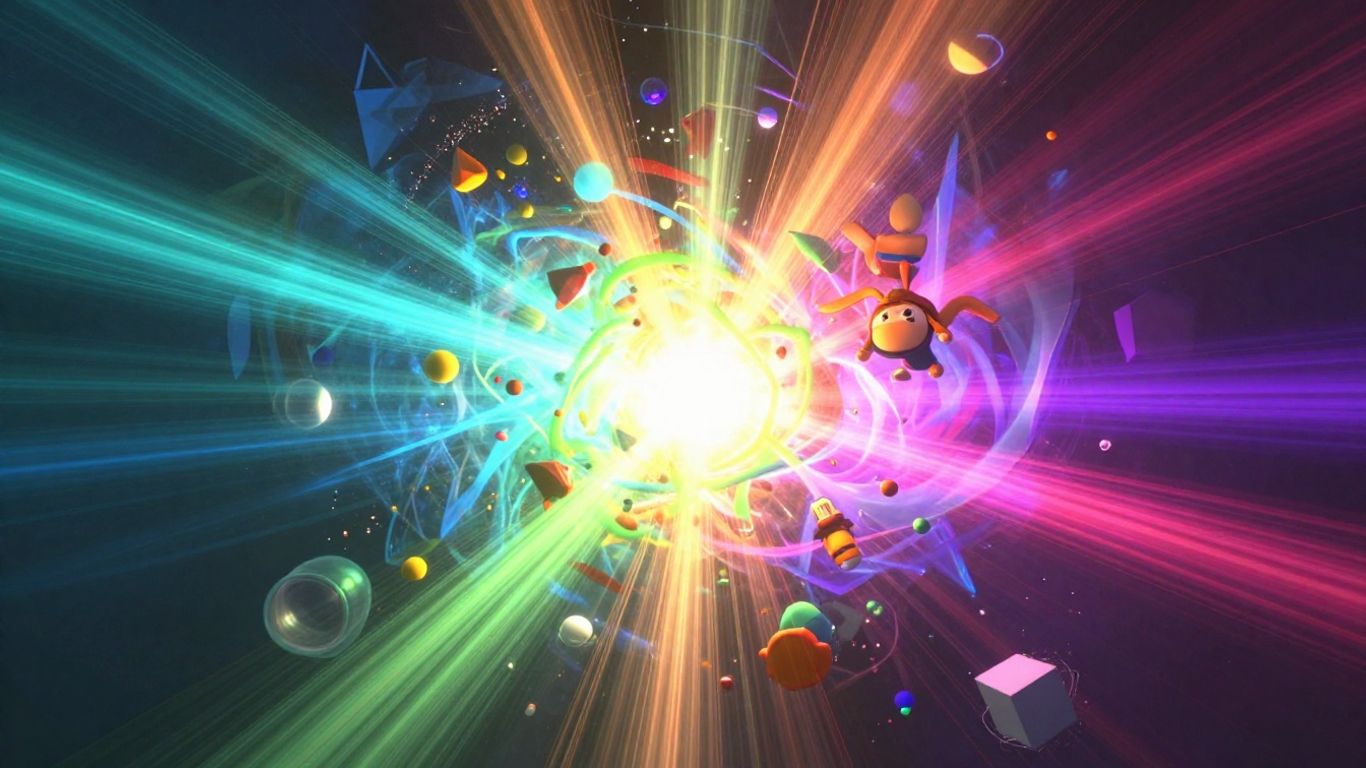
Visual Effects: Simulations, Dynamics, and Particles
This is where things get explosive – literally! Visual effects (VFX) cover a huge range of cool stuff. We're talking about making fire, smoke, water, cloth, and even crowds behave realistically. This involves using simulation tools within your software. You'll set up rules, and the computer figures out how things should interact. Particles are used for things like dust, sparks, or rain. It’s all about making the impossible look real.
Understanding how these systems work takes time. It's not just about clicking buttons; it's about understanding the physics behind them, even if you're faking it. The goal is to make the audience believe what they're seeing, whether it's a subtle breeze rustling leaves or a massive explosion.
Advanced Lighting and Rendering Strategies
Lighting is everything in 3D. It sets the mood, guides the viewer's eye, and makes your scene look believable. Advanced lighting involves using techniques like Global Illumination (GI) to simulate how light bounces around a room, making shadows softer and more natural. Physically Based Rendering (PBR) is another big one; it means your materials react to light the way they would in the real world. Rendering itself is the process of turning your 3D scene into a 2D image or video. Mastering render settings, render passes, and optimizing render times is key to getting high-quality results without waiting forever. You might want to check out some tutorials on physically based rendering to get a feel for it.
Here's a quick look at some common rendering elements:
| Render Pass | Purpose |
|---|---|
| Diffuse | Base color without lighting |
| Specular | Highlights and reflections |
| Ambient Occlusion | Soft shadows in crevices and corners |
| Depth | Distance from camera, useful for effects |
| Motion Blur | Simulates camera or object movement blur |
The Art of Motion and Visual Effects
This section is all about making things move and look cool in your 3D scenes. It's where static objects get a life of their own, and where you can create stunning visual spectacles. Think of it as the difference between a photograph and a movie – it's all about that movement and how it tells a story.
Animating Objects with Keyframes and Rigging
Breathing life into static objects is the core of animation. You do this by setting keyframes, which are like snapshots of an object's state (position, rotation, scale) at specific points in time. The software then figures out how to get from one keyframe to the next, creating the motion. For more complex movements, especially with characters, you'll use rigging. Rigging is basically building a digital skeleton inside your object. This skeleton has controls that let you move parts of the object in a natural way. It's how you make a character walk, wave, or even just blink. Mastering keyframing and rigging is key to making your animations feel believable and engaging.
Dynamic Camera Animation for Engaging Scenes
Your camera is the audience's eyes. How you move it can completely change how a scene feels. You can pan, tilt, zoom, or even have the camera follow a character. Think about how a real movie camera works – sometimes it's steady, sometimes it's shaky to show excitement or fear. You can recreate that in 3D. Dynamic camera work helps guide the viewer's attention and adds a sense of depth and perspective. It’s a big part of 3D animation process.
Animating Lights for Mood and Atmosphere
Lights aren't just for seeing; they're for feeling. By animating lights, you can change their brightness, color, and direction over time. This can dramatically alter the mood of a scene. Imagine a spooky scene where lights flicker and dim, or a romantic one where a warm glow slowly fades in. You can even animate shadows to move realistically. This is a powerful tool for storytelling and creating immersive experiences. It's a technique often used in motion graphics to add visual flair.
Here's a quick look at what you can control with lights:
- Intensity: How bright the light is.
- Color: Warm yellows, cool blues, or anything in between.
- Direction: Where the light is coming from.
- Shadows: How sharp or soft the shadows are, and how they move.
Animating lights is about more than just illumination; it's about painting with light to sculpt emotion and guide the viewer's perception. Subtle shifts can transform a mundane scene into something extraordinary, evoking specific feelings and reinforcing the narrative's tone.
Elevating Your 3D Animation Skills
Compositing and Post-Processing Techniques
So, you've got your animation looking pretty slick, right? But we're not quite done yet. Compositing is where you take all those separate elements you've rendered – your characters, backgrounds, special effects – and blend them together. Think of it like putting the final touches on a painting. You're layering things, adjusting how they interact, and making sure it all looks like one cohesive piece. This is also where you'll do a lot of the color correction and grading. Want your scene to feel moody and dark? Or bright and cheerful? That's all done here. You can add subtle effects like depth of field to make certain parts sharper than others, or motion blur to really sell the speed of a movement. It's about taking your animation from good to great, making it look polished and professional. It’s a big step in making your work look like it belongs on the big screen.
Continuous Learning and Artistic Exploration
Look, nobody becomes a 3D animation wizard overnight. It’s a field that’s always changing, with new software and techniques popping up constantly. The best advice I can give is to just keep practicing and keep learning. Don't be afraid to try new things, even if they seem a bit out of your comfort zone. Maybe experiment with different styles of animation, or try out a new software package like Spline for a different approach to 3D design. Watch other animators' work, see what you like, and figure out how they did it. There are tons of online resources, tutorials, and communities out there. The key is to stay curious and never stop pushing yourself. It’s a journey, and every project you complete, every tutorial you follow, adds to your skill set. You'll find that the more you explore, the more your own unique artistic voice will start to shine through. It’s all about that ongoing process of discovery and refinement, making your animation truly yours.
The world of 3D animation is vast, and there's always something new to discover. Whether you're refining your keyframe techniques or exploring advanced visual effects, the journey of learning is continuous. Embracing new tools and methods will help you grow as an artist and bring your creative visions to life more effectively. Remember that practice and experimentation are your best allies in mastering this dynamic field. This is how you truly bring your models to life.
Here's a quick look at some areas to focus on for continued growth:
- Software Proficiency: Regularly update your knowledge of your primary 3D software. Learn new tools and workflows as they become available.
- Artistic Fundamentals: Continue to study anatomy, color theory, composition, and storytelling. These artistic principles are timeless and apply to all forms of visual media.
- Industry Trends: Keep an eye on what's happening in the animation industry. What styles are popular? What new technologies are emerging? This can inspire your own work.
- Networking: Connect with other animators. Share your work, get feedback, and learn from their experiences. Online forums and local meetups can be great for this.
Keep Creating!
So, we've gone from the absolute basics of 3D animation all the way up to some pretty advanced stuff. It's a lot to take in, for sure. But remember, every pro animator started somewhere, probably feeling just as overwhelmed as you might be right now. The key is to just keep practicing, keep experimenting, and don't be afraid to mess things up. That's how you learn. Keep pushing your ideas, try new techniques, and most importantly, have fun with it. The world of 3D animation is huge, and your unique creations are what make it interesting. So, go out there and make something awesome.
Frequently Asked Questions
What are the basic building blocks of 3D animation?
In 3D animation, everything starts with simple shapes. Think of them like digital LEGO bricks. We use points, lines, and flat surfaces (called polygons) to build up everything you see, from characters to entire worlds. Learning how to shape and combine these basic forms is the first step to creating anything in 3D.
What are some popular 3D animation software programs?
There are several great tools out there! Blender is a fantastic choice because it's free and very powerful, good for beginners and pros. Autodesk Maya is a top pick in the professional world, known for its flexibility. Cinema 4D is also popular, especially for motion graphics, because it's user-friendly and has strong tools for making animated graphics.
How do I make my 3D characters look and move realistically?
To make characters believable, you need to understand how real bodies work. Studying anatomy helps you know where muscles and bones are, making your character models look right. Learning figure drawing improves your ability to draw characters from different angles. Then, understanding acting helps you give them emotions and personality through their movements and expressions.
What are 'rigging' and 'visual effects' in 3D animation?
Rigging is like giving your 3D model a skeleton and controls so you can move its parts, like bending an arm or making a face. Visual effects, or VFX, are things like explosions, water, or magical powers. This often involves using simulations, dynamics (how things move realistically), and particles (like dust or sparks) to create these amazing effects.
Why is lighting so important in 3D animation?
Lighting is super important because it sets the whole mood and feel of a scene. Just like in a movie, how you light something can make it look happy, scary, or mysterious. Good lighting helps guide the viewer's eye and makes the 3D world look more real and engaging. Animating lights can change the atmosphere dramatically.
What's the best way to keep improving my 3D animation skills?
The animation world is always changing, so never stop learning! Keep practicing the basics, but also try new techniques and software. Look at other animators' work for inspiration, and don't be afraid to experiment. Joining online communities or taking advanced courses can help you discover new tricks and stay creative.